Global Shade
0451 074 233
Tips for perfect DIY Shade Sail Installation
April 4th, 2017 · Published to Shade Sails

Shade Sails are an affordable Shade structure
DIY Shade sails are one of the most popular shade solutions in Australia. Not only are they an affordable alternative to permanent shade structures, but they also add style to an outdoor space. They’re great for creating shaded areas in backyards, swimming pools, car parks and a variety of other domestic and commercial applications.
If you’re considering getting DIY shade sails for your home or business, you’re making a great choice. They will allow you to use your outdoor space more effectively. While most DIY shade sails on the Gold Coast come with detailed installation instructions, there’s more to installing a shade sail. Today, I’ll offer you some handy tips that’ll make your DIY shade sail installation go smoothly.
Determine the shade sail layout you want
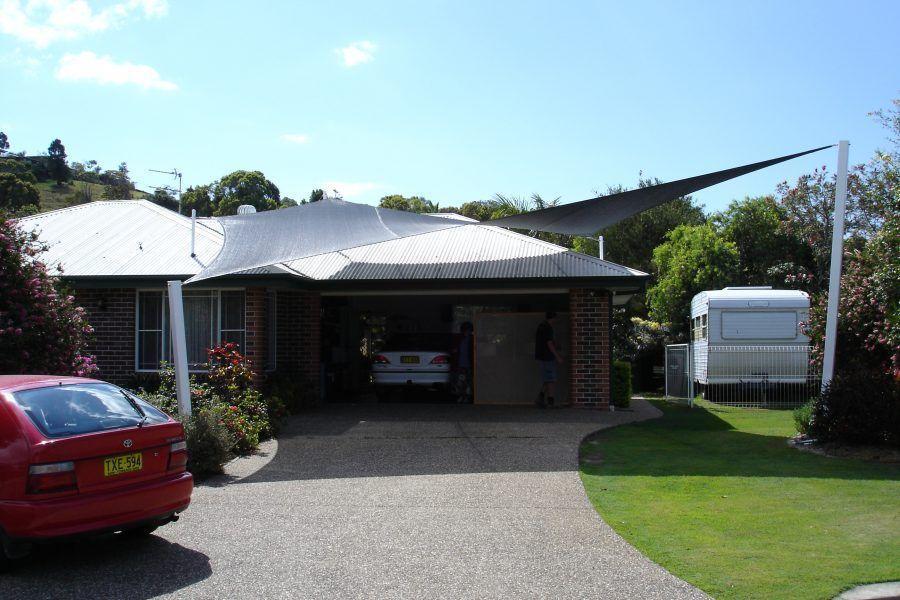
DIY shade sails can be laid out in several ways. Fixing all four corners of a shade sail horizontally is the most popular layout. However, you can also lay a shade sail with the corners at different heights to create slants and angles. Alternatively, you can also install a shade sail vertically to create a privacy fence. Determine the layout you want beforehand as it will determine the heights of attachment points.
Find a suitable location for your shade sail
DIY shade sails can be custom made to any size and they are suitable for installation just about anywhere. However, you still need to pay close attention to finding the most suitable location for your shade sail. Consider the size of your shade sail, the availability of suitable attachment points and the sun direction.
Measure everything carefully
A big part of installing a DIY shade sail properly lies in measuring things out carefully. Don’t jump into the installation until you measure all dimensions and make sure to cross check your numbers. You’ll need to measure the dimensions of your shade sail as well as the height of the attachment points. A shade sail needs to be stretched as tight as possible across attachment points to be effective. Keep this in mind and take accurate measurements.
Pay attention to the attachment points
Shade sails can be attached to both pre-existing structures as also to poles specifically erected to hold a shade sail. Shade sails are usually attached to suitable points with the help of special mounting hardware. Chain extensions, spring clip connectors, and turnbuckle shade sail connectors are some common anchor systems used in shade sails. Choose your preferred attachment type and make sure to attach it as securely as possible.
Don’t hesitate to take help
Even if you’ve handled DIY projects earlier, let me tell you that DIY shade sail installation is tiring and cumbersome. Working with a large shade sail and getting it perfectly fastened can be quite challenging for a single person. I’ll always advise you to seek a helping hand before attempting installation of DIY shade sails on the Gold Coast. Trust me – it’ll make the process much simpler and more efficient.
Conclusion:
When it comes to installing DIY shade sails, there are certain tips you should pay attention to. Always determine the shade sail layout you want beforehand. Make sure to find the most suitable location for a shade sail. Take all measurements carefully and ensure that the attachment points are secure. Finally, don’t hesitate to take help – it’ll make the installation much simpler.
And, if you’re yet to purchase a shade sail, consider us at Global Shade. We’re your trusted provider of DIY shade sails on the Gold Coast.