Global Shade
0451 074 233
How to Install Shade Cloth Shade Sails

August 26th, 2020 · Published to Shade Sails
If you’re looking for a cost-effective shade solution, few can compete with the value for money presented by shade cloth shade sails. Cheap and versatile, shade cloth shade sails are ideal for shading homes, business premises, shopping centre car parks, hospitality establishment, parks, schools and playgrounds, amongst others.
It’s their versatility and affordability that makes them one of the leading shade solutions in Australia, paired with the fact that they don’t always need professional installation. Unlike waterproof shade sails, which are made from PVC fabrics, shade cloth shade sails are lighter in weight and offer DIY installation.
If you are looking to install shade cloth shade sails, then you’ve landed on the right page. Global Shade are shade sail manufactures. We manufacture a range of DIY shade sails as well as custom shade sails that are ideal for DIY installation. Regardless of whether you’re looking to install a DIY or a custom made shade sail made from shade cloth, the same installation steps apply.
Continue reading to find out how to install our shade cloth shade sails. But before we get into it, let me give you a few tips on how to choose the right shade cloth shade sail.
Shade cloth shade sail buying tips
- Choose the right size for your area
- Choose the shape shade sail for your area
- Investigate the shade cloth fabric
- compare UVR ratings,
- compare shade ratings,
- compare warranties
- Consider the colour range of the shade cloth fabric
Shade cloth shade sail installation guide
Step 1: Identify fixing locations
The first step in installing shade cloth shade sails is to identify fixing locations. Lay the shade sail out on the ground at the angle you want it installed at to check for existing structures can be utilised as fixing points. Some of the most suitable fixing points are large trees, fence posts, pergolas, and house fascias.
If no suitable fixing points exist, you will need to install post supports to affix the shade sail to. H5 level treated softwood is recommended, but your local timber supplier should also be able to offer suitable options. Steel posts are a more expensive option.
Step 2: Attach anchor fittings to fixing locations
Once you have suitable fixing points for all corners of the shade sail identified and installed, you will need to attached anchor fitting with a nut and washer, or whichever fittings best suit your fixing points.
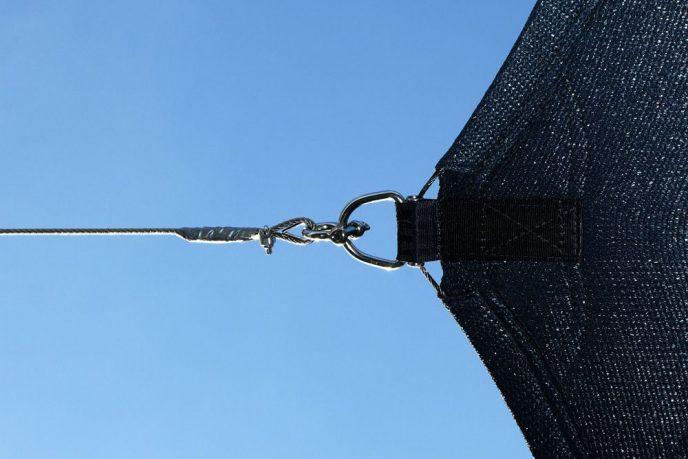
Attach the turnbuckles to the shade cloth with a D-link bolt at this stage also.
Step 3: Attach shade cloth to the fixing anchors
Hook the turnbuckle to the anchor fittings at each fixing location. Use a tensioning tool to achieve increased leverage – you want the sail to be rigid with little or no creases, but not too tight.
That’s all there is to it!
Follow my buy tips and installation guide and you’ll have yourself a reliable, high-quality shade sail that will provide great shade and great value for money.
Conclusion
Shade cloth shade sails are the most common form of shade sail and that is due to their affordability and versatility. But in addition to this, they are also easy to install.
Installing shade cloth shade sails is as simple as identifying fixing locations, attaching anchor fittings to the fixing locations and attaching the shade cloth to the fixing anchors.
If you’re still looking for the perfect shade cloth shade sails, then look no further than Global Shade. As shade sail manufactures, we make shade sails from a number of shade cloth fabrics to meet your needs and budget. Visit our Shade Sails and DIY Shade Sails page or give me a call on 1800 724 407 for more information or for installation queries.